This is a longer one … it took long too.
I would apologise, but it is one of those things where it hurt me more than it will hurt you to read this extremely abbreviated version.
Setting up sudoedit
There is no two ways about it: sudoedit is the smart way to edit text files as root.
In short what sudoedit does is to:
sudo,- copy the file you want to edit into a temporary location,
- edit that file with
sudo $VISUAL, or failing thatsudo $EDITOR, and - when you save and exit the editor, replace the original file with the temporary copy.
To set up Helix as the default text editor in the console, and KWrite when X11 or Wayland are available (both also for sudoedit), I did the following (in Fish shell):
set --universal --export EDITOR helix
set --universal --export VISUAL kwrite
Borg backup
Before I started messing with the Btrfs RAID, I decided to set up the backups.
I decided to stick with Borg, but to simplify setting up and running, used the Borgmatic wrapper. I have to say I am very pleased with it.
First, I installed it with yay borgmatic.
I took my sweet time to set it up, but most of that was spent reading the documentation and the extensive (over 900 lines) config file template.
But ultimately my /etc/borgmatic/config.yaml consist of less than 30 actual lines and, including all the reading, I was done in an afternoon. The interesting bits I share below.
Excludes
Some things are just not worth backing up and just waste resources. So I added the following:
exclude_from:
    - /etc/borgmatic/excludes

exclude_caches: true

exclude_if_present:
    - .nobackup
Then I slapped .nobackup into directories in my home that I typically do not want backed up like downloads, video, games and some (non-hidden) temporary folders.
The exclude_caches bit relies on people following the Cache Directory Tagging Specification, which from what I can tell, is a pretty rare occasion.
In fact, locate CACHEDIR.TAG on my system shows only three such files – I hope this improves as I install more things:
/home/hook/.cache/borg/CACHEDIR.TAG
/home/hook/.cache/fontconfig/CACHEDIR.TAG
/home/hook/.cargo/registry/CACHEDIR.TAG
So to filter out more caches and for the rest I created a /etc/borgmatic/excludes file that includes: (click to expand)
## Temporary and backup files

*~
*.tmp
*.swp

## Temporary and cache directories

**/tmp
**/temp
**/cache
**/Cache
**/.cache
**/.Cache
**.cache
**.Cache
**.ccache

## Big files

*.iso
*.img

## Top level directories to always exclude

/dev
/etc/mtab
/media
/mnt
/proc
/run
/sys
/tmp
/var/cache
/var/tmp

## Local applications to be excluded (for more use `.nobackup`)

/home/*/.local/share/akonadi
/home/*/.local/share/baloo
/home/*/.local/share/lutris
/home/*/.local/share/Trash
/home/*/.local/share/Steam
/home/*/.kde4/share/apps/ktorrent
/home/*/.config/chromium
/home/*/.wine
I have to agree with the author of the CacheDir spec, caches are aplenty and it is hard to RegExp them all. If only everyone just put their cache in ~/.cache …
Relying on .nobackup is a new approach I tried, but let us see how it works out for me. I am cautiously optimistic, as it is much easier to just touch .nobackup than it is to sudoedit /etc/borgmatic/config.yaml, enter the password and copy paste the folder.
Checks
Backups are only worth anything if you can restore from them. Borg does offer checks, and Borgmatic offers a way to easily fine-tune which checks to run and how often.
With the below settings Borgmatic:
- every day when it creates a backup, also checks the integrity of the repository and the archives
- once a month, tries to extract the last backup
- every three months checks the integrity of all data
checks:
    - name: repository
      frequency: always
    - name: archives
      frequency: always
    - name: extract
      frequency: 1 month
    - name: data
      frequency: 3 months
Restrict access
Of course I encrypt my backups.
To further limit access to the backup server, accessing the backup server is only possible with an SSH key. Furthermore, the ~/.ssh/authorized_keys on the server restricts access only to the specific backup repository and only allows the borg serve command to be ran:
command="cd {$path_to_borg_repos}; borg serve --restrict-to-path {$path_to_borg_repos}/{$repo_of_this_machine}",no-pty,no-agent-forwarding,no-port-forwarding,no-X11-forwarding,no-user-rc {$ssh_key}
I already had Borg running on the backup server, so I merely needed to add another line like the above to the server and set up Borgmatic on Leza.
Automate it all
At the end I enabled systemctl enable --now borgmatic.timer to have systemd handle the “cronjob” on a daily basis.
Borgmatic does the heavy lifting of figuring what exactly (if anything) it needs to do that day, so that was super-simple.
Btrfs RAID
Well, RAID-ifying my Btrfs was quite a ride … and I have no-one to blame but myself1 for the issues I had.
I also have to thank everyone on #btrfs IRC channel (esp. balrog, dicot, kepstin, multicore, opty, specing, Zygo); dalto from the EndeavourOS forum, and above all TJ from KDE’s Matrix channel for their help, helping me to dig myself out of the mess I made.
Below, I will document things as they should have been done, and add what I did wrong and how we fixed it in a expandable sub-section.
Do note that “what I should have done” is just me applying some hindsight to my errors, it may still have holes. Also the “what I did” parts are partially re-created from memory and omit a lot of trial and error of trying to fix stuff.
Baloo fixed on Btrfs
The Baloo reindexes everything after every reboot issue is now fixed and will be part of the KDE Frameworks 5.111 release.
Add a new device
As I described in the my base install blog post, the partitioning of my Goodram PX500 SSD was (roughly):
- 1 GB – ESP
- 990 GB – LUKS + Btrfs
- 9 GB – LUKS + swap
The Goodram PX500 has 953,86 GiB of space.
But Samsung 970 Evo Plus has 931,51 GiB of space.
Although both drives are marketed as 1 TB (= 931,32 GiB), there was a difference of 20 GiB between them. And unfortunately in the wrong direction, so just the system partition on the Goodram SSD was larger than the whole Samsung SSD.
After plugging in the new SSD, what I should have done was just:
- create a 1 GiB fat32 partition at the beginning,
- (create a 10 GiB LUKS + swap partition at the end),
- create a LUKS partition of what-ever remains on the newly added drive.
… and simply not care that the (to-be) Btrfs partition is not the same size as on the old one.
If fact, I could have also just skipped making a swap partition on the Samsung SSD. If/when one of the drives dies, I would replace it with a new one, and could just create swap on the new drive anyway.
Was that what I did?
Of course bloody not! 🤦♂️
Expand if you are curious about how removing and re-creating the swap partition caused me over two days of fixing the mess.
While the gurus at Btrfs assured me it would totally work, if I just had two differently-sized Btrfs partitions put into one RAID1, as long as I do not care some part of the larger partition will not be used, I still wanted to try to resize the partitions on Goodram SSD.
Did I ignore this good advice?
Oh yes!
I am not a total maniac though, so just in case, before I did anything, I made backups, and ran both btrfs scrub and btrfs balance (within Btrfs Assistant, so I do not mess anything up).
The big complication here is that this is a multi-step approach, depending on many tools, as one needs to resize the LUKS partition as well as Btrfs within it, and there are several points where one can mess up things royally, ending with a corrupt file system.
One option would be to go the manual way through CLI commands and risk messing up myself.
The other option would be to use a GUI to make things easier, but risk that the GUI did not anticipate such a complex task and will mess things up.
After much back and forth, I still decided to give KDE Partition Manager a go and see if I can simply resize a Btrfs partition within LUKS there. In the worst case, I already had backups.
… and here is where I messed things up.
Mea culpa!
Honestly, I would have messed things up the same way if I did it in CLI.
If anything, I am impressed how well KDE Partition Manager handled such a complex task in a very intuitive fashion.
What I did then was:
- Resized luks+btrfs (
nvme0n1p2) on Goodram to be 20 GiB smaller – this is where I thought things would break, but KDE Partition Manager handled it fine. But now I had 20 GiB of unused disk space betweennvme0n1p2(btrfs) andnvme0n1p3(swap). - To fix this I decided to simply remove the swap (
nvme0n1p3) and create a new one to fill the whole remaning space. - (While I was at it, I added and changed a few partition labels, but that did not affect anything.)
So, I ended up with:
Goodram PX500:
| partition | size | file system | mount point |
|---|---|---|---|
| unallocated | 1,00 MiB | unallocated | |
| nvme0n1p1 | 1.000,00 MiB | fat32 | /boot/efi |
| nvme0n1p2 | 924,55 GiB | btrfs (luks) | / |
| nvme0n1p3 | 28,34 GiB | swap (luks) | swap |
Samsung 970 Evo Plus:
| partition | size | file system | mount point |
|---|---|---|---|
| nvme1n1p1 | 1.000,00 MiB | fat32 | /mnt/backup_efi |
| nvme1n1p2 | 920,77 GiB | btrfs (luks) | |
| nvme1n1p3 | 9,77 GiB | swap (luks) | swap |
At first things were peachy fine.
… and then I rebooted and was greeted with several pages of Dracut essentially warning me that it cannot open an encrypted partition.
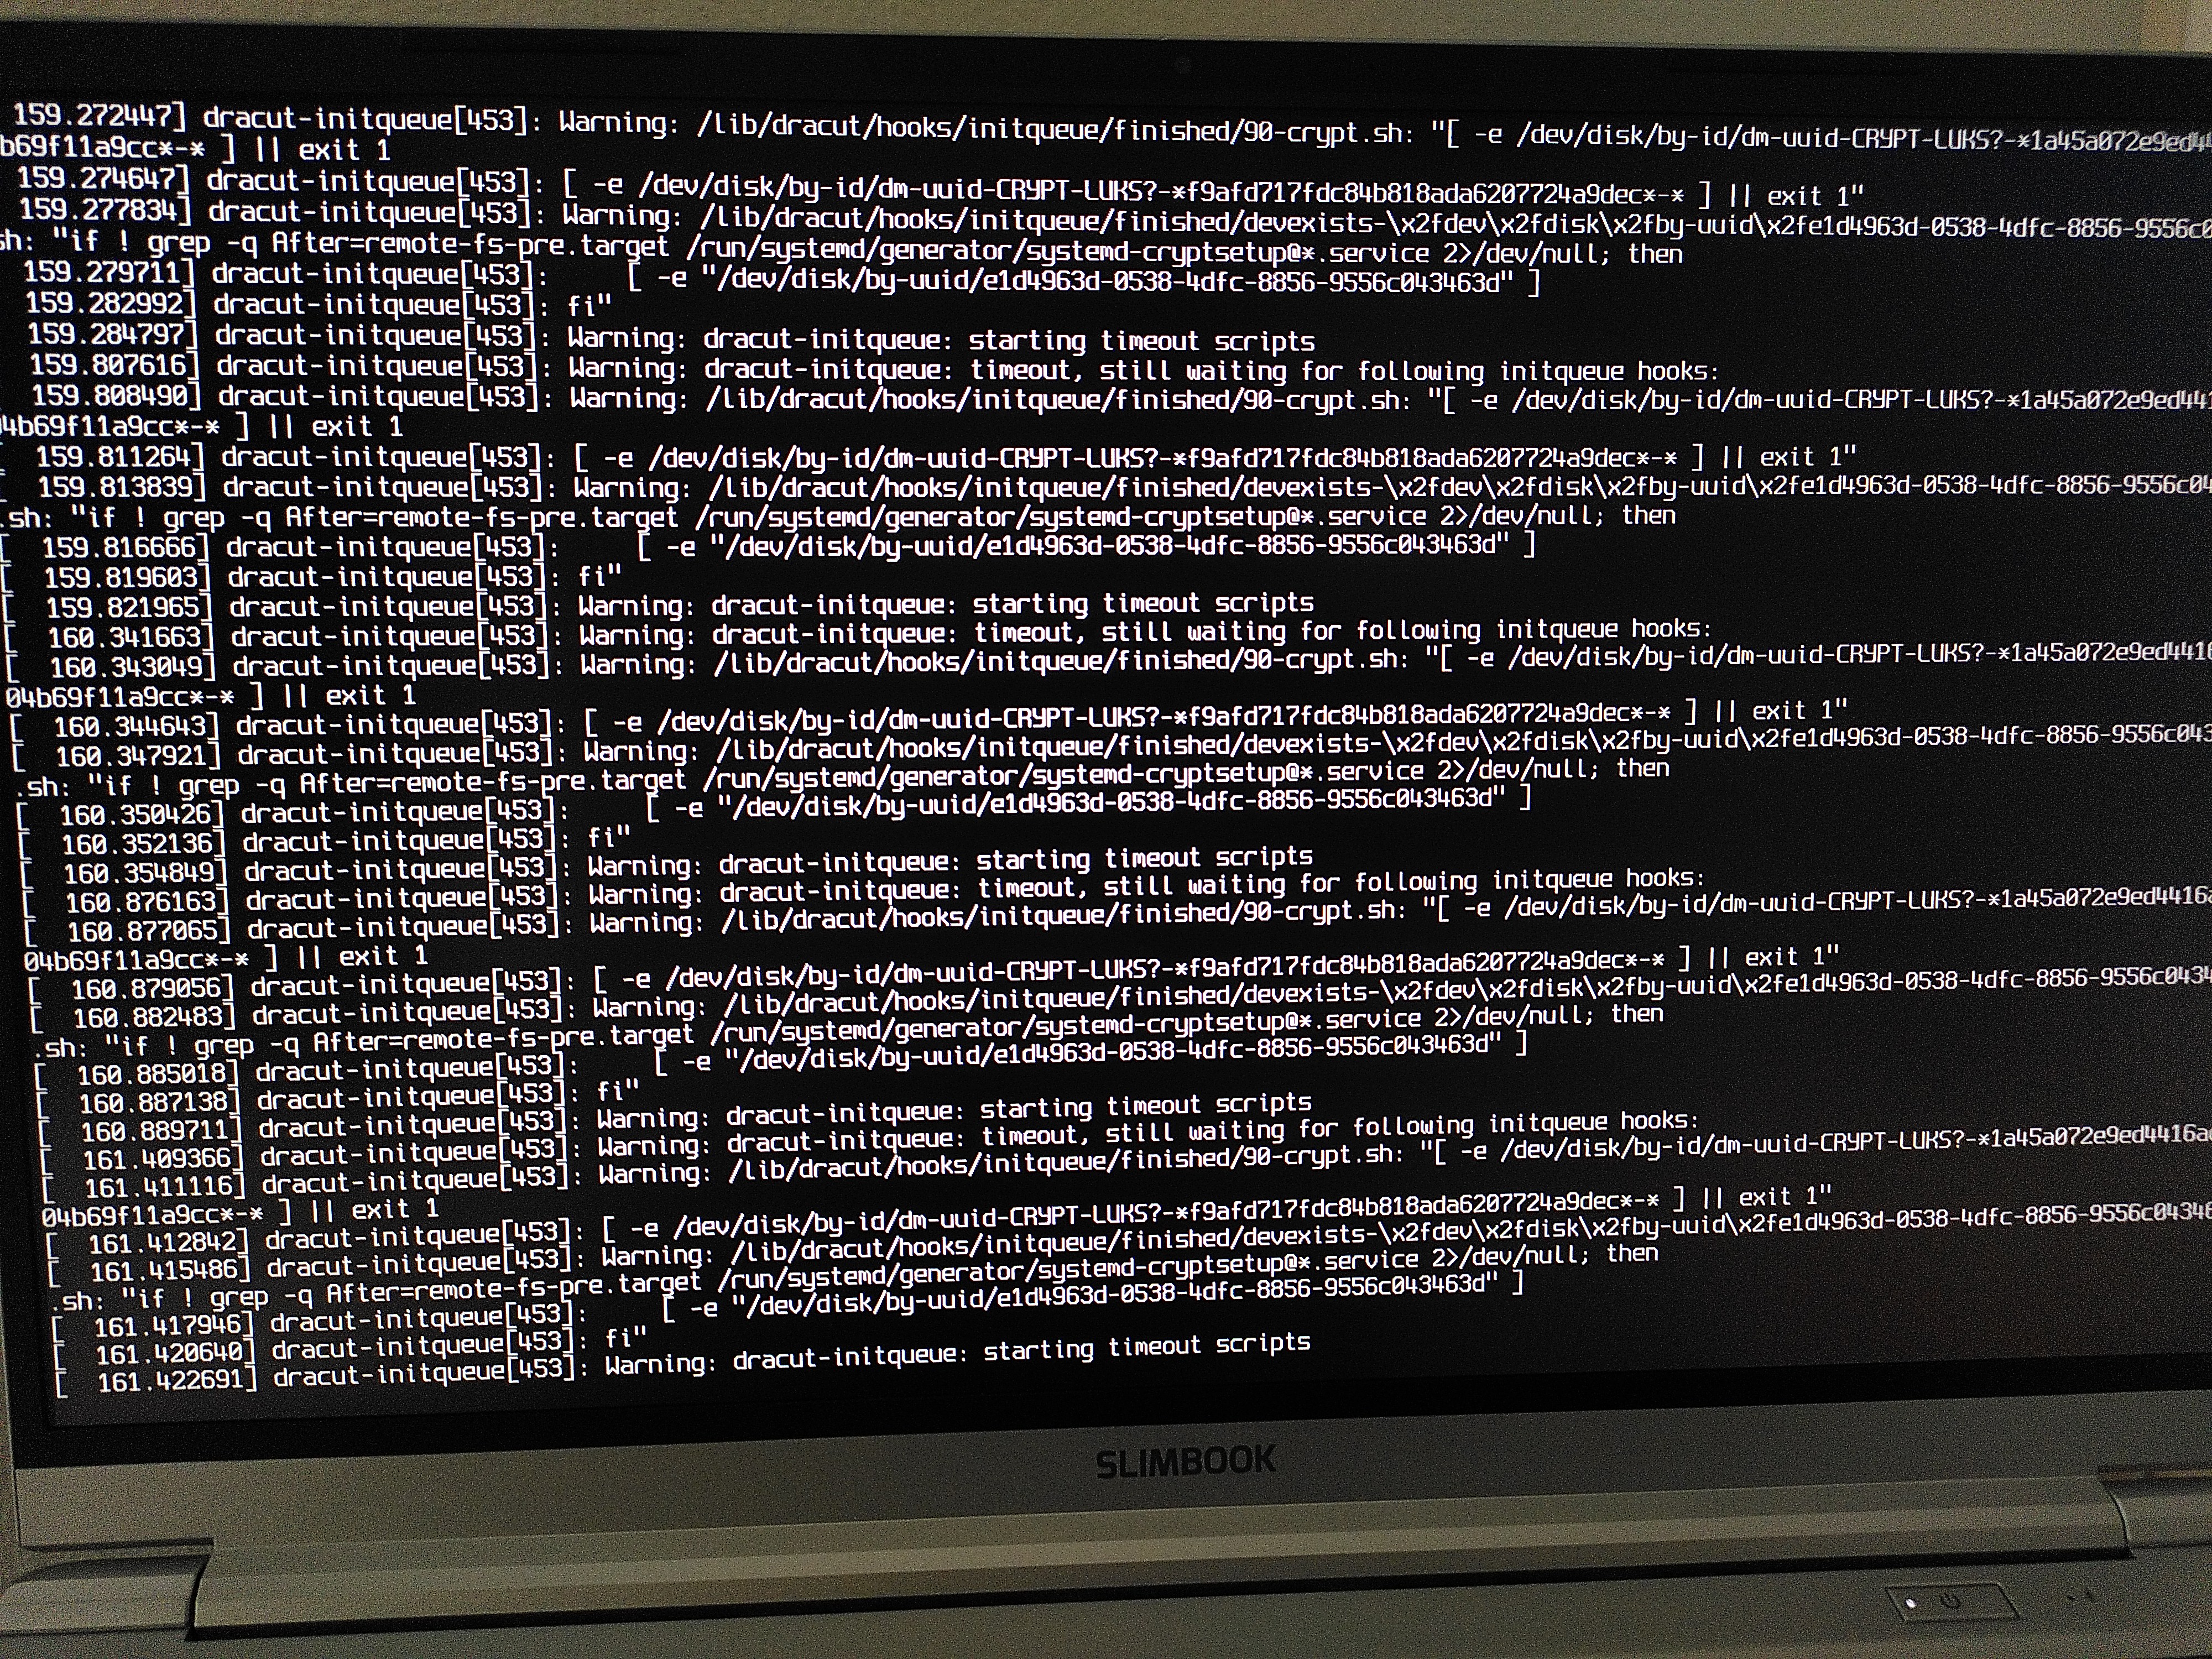
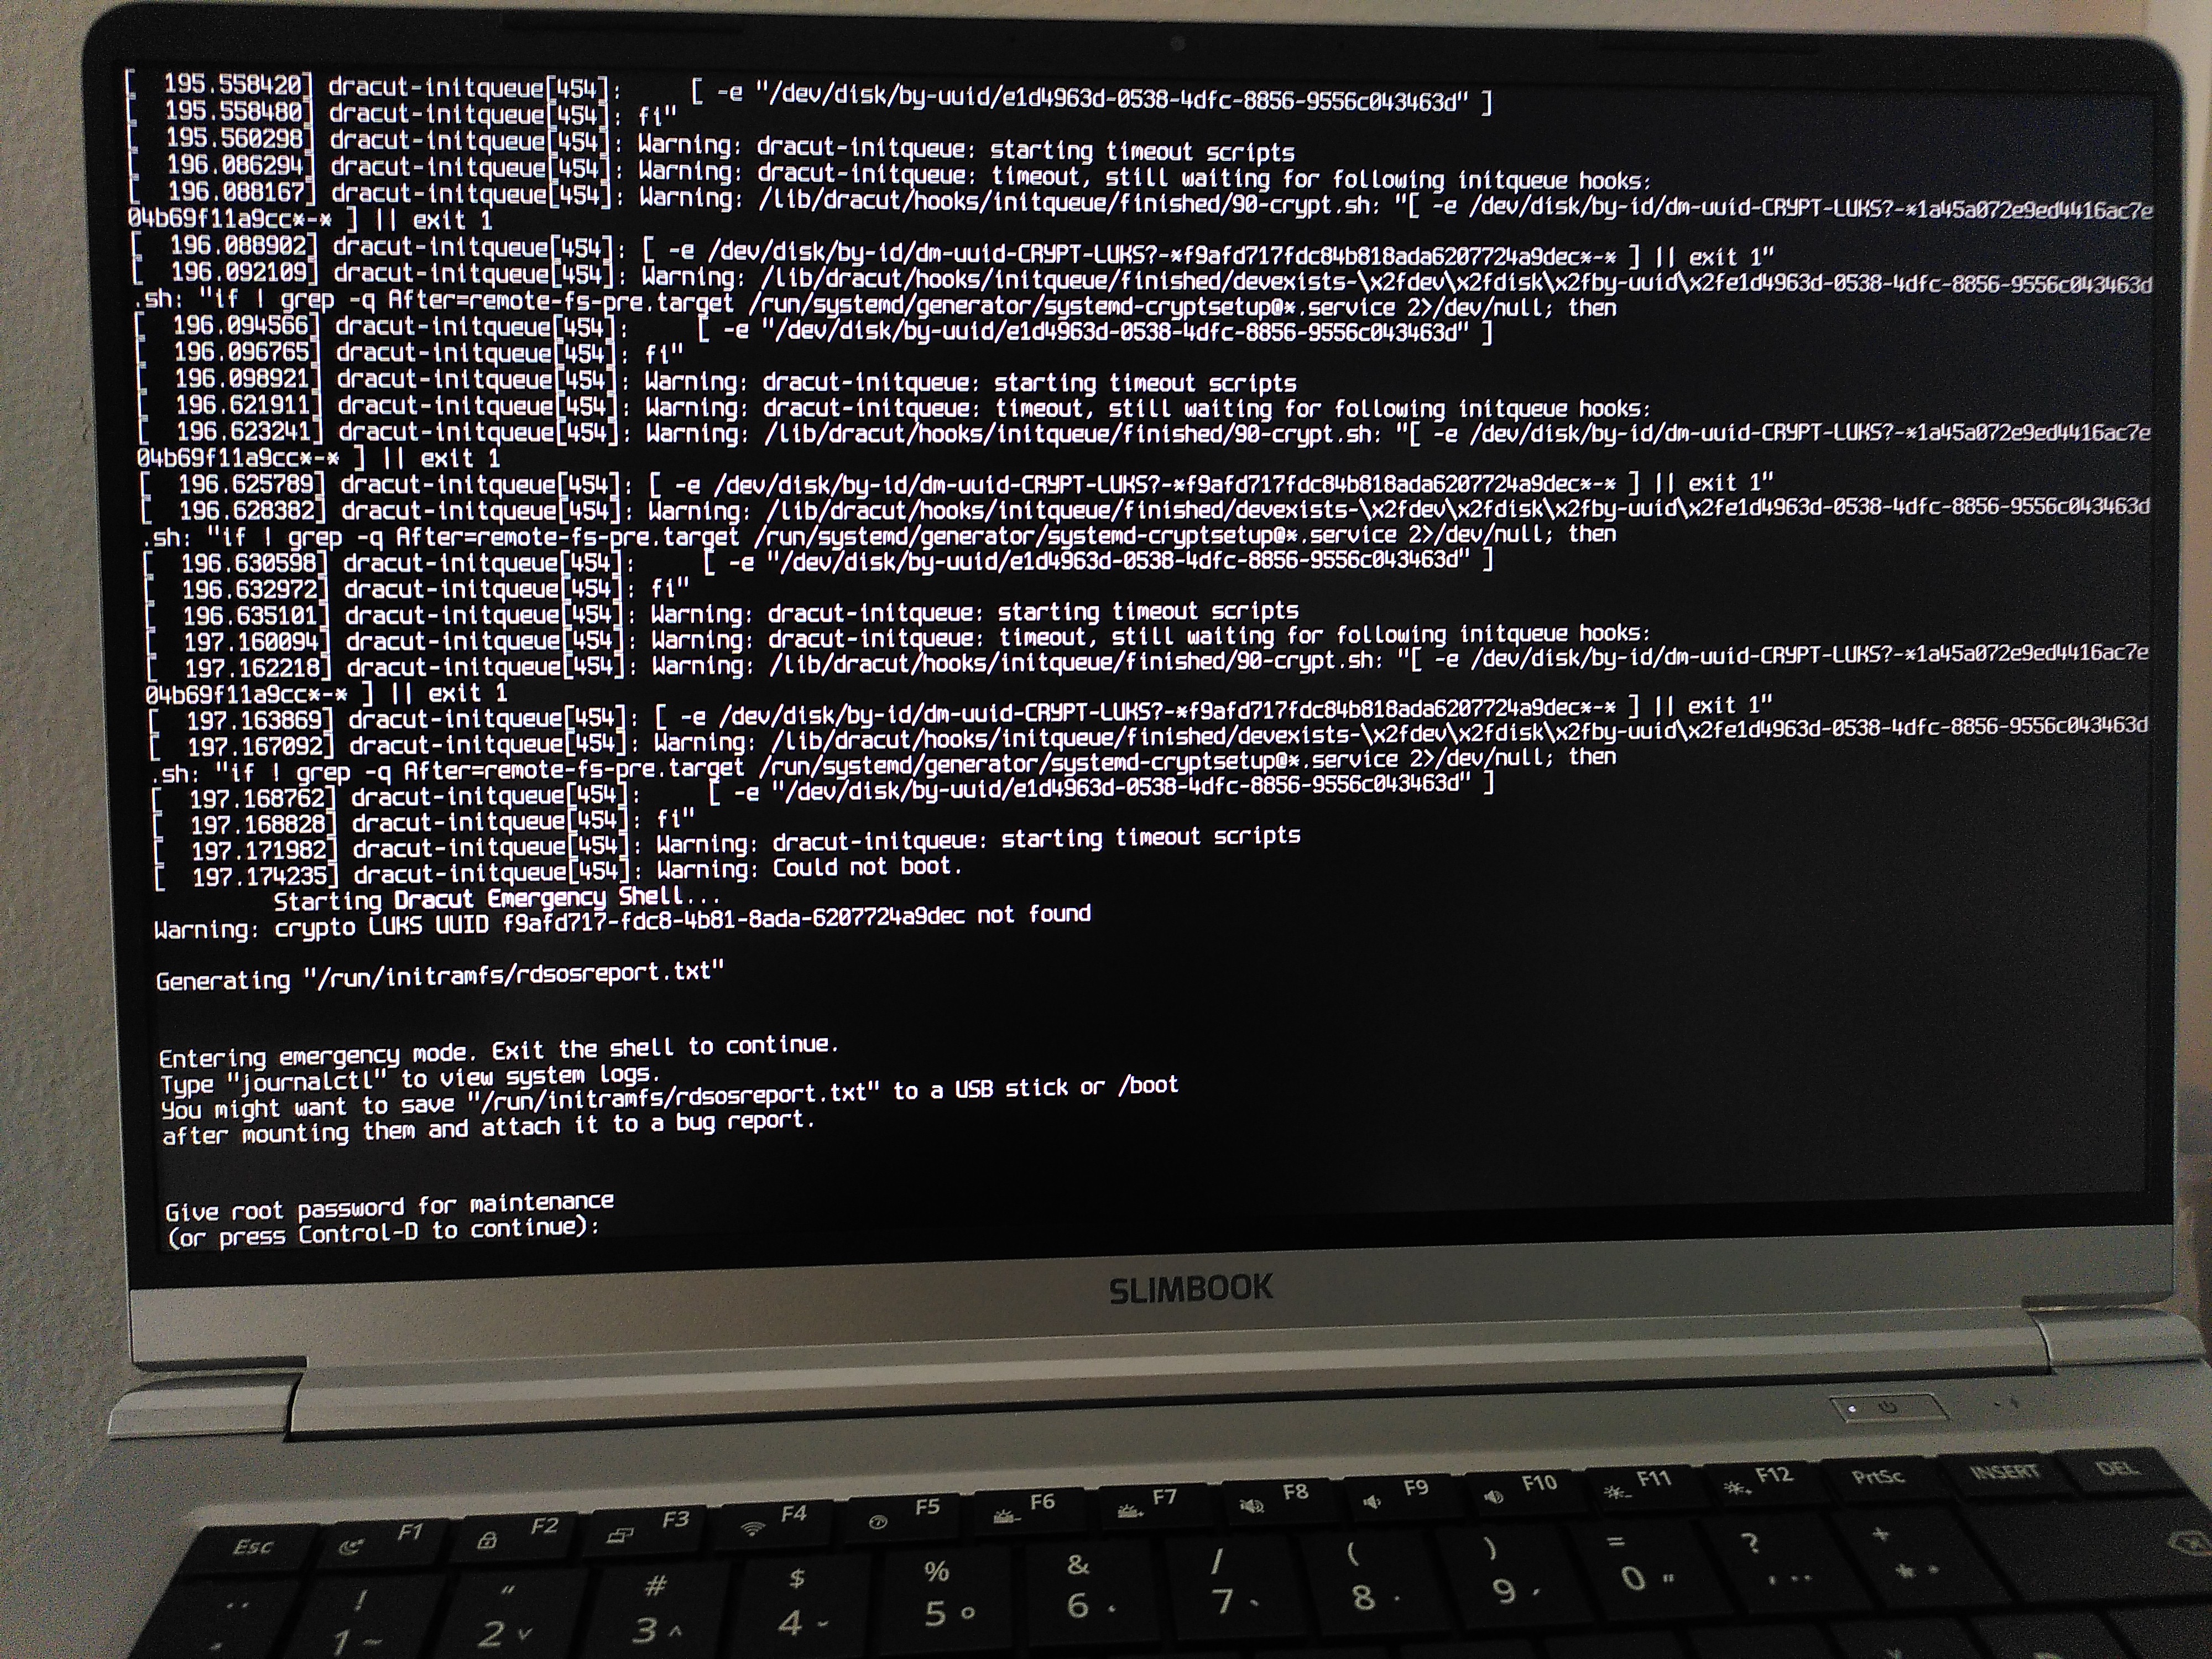
So what happened was that I forgot that since I removed and re-created nvme0n1p3 (swap), it now has a different UUID – which is why Dracut could not find it. 😅
After much trial and error and massive help from TC, we managed to identify the problem and solution through the emergency shell. It would have been possible to do that – and probably faster – by booting from LiveUSB too, but both TC and I were already deeply invested and had (some kind of twisted) fun doing it the emergency shell2. Luckily the Btrfs partition got unencrypted, so we could use chroot.
Long story short, this was the solution:
- Reboot and in GRUB edit the boot command to remove the non-existing swap partition from the kernel line.
- Wait during boot that systemd gives up on the non-existing swap partition.
- When in my normal system
sudoedit /mnt/rootfs/etc/crypttabandsudoedit /mnt/rootfs/etc/fstabto change the UUID of the encrypted swap partition to the new partition’s UUID. sudoedit /etc/dracut.conf.d/calamares-luks.confto change the swap partition’s UUID for the new one.sudo dracut-rebuildsudoedit /etc/default/grub– specifically theGRUB_CMDLINE_LINUX_DEFAULTline – to change the swap partition’s UUID for the new one, as well as make sure every LUKS-encrypted partition’s UUID has ard.luks.uuid=entry there.sudo grub-install(just in case) andsudo grub-mkconfig.- Reboot 😄
There was another self-caused issue that took me way too long to figure out, until someone on the #btrfs IRC channel pointed it out. I forgot the closing ' in the linux (a.k.a. “kernel”) line in GRUB, which is why grub-install would fail me, complaining about GRUB_ENABLE_CRYPTODISK=y missing, while it was clearly there in /etc/default/grub. I just had to add that ' at the end of GRUB_CMDLINE_LINUX_DEFAULT in /etc/default/grub and GRUB was happy again.
That was essentially the big oops and how it got fixed.
In the now my /etc/dracut.conf.d/* looks like:
# Configuration file automatically written by the Calamares system installer
# (This file is written once at install time and should be safe to edit.)
# Enables support for LUKS full disk encryption with single sign on from GRUB.

# force installing /etc/crypttab even if hostonly="no", install the keyfile
install_items+=" /etc/crypttab /crypto_keyfile.bin "
# enable automatic resume from swap
add_device+=" /dev/disk/by-uuid/2d90af35-7e6a-40f8-8353-f20433d0f994 "

omit_dracutmodules+=" network cifs nfs brltty "
compress="zstd"

force_drivers+=" amdgpu "
add_dracutmodules+=" plymouth "

add_dracutmodules+=" resume "
And /etc/default/grub:
# GRUB boot loader configuration

GRUB_DEFAULT='0'
GRUB_TIMEOUT='5'
GRUB_DISTRIBUTOR='EndeavourOS'
GRUB_CMDLINE_LINUX_DEFAULT='nowatchdog nvme_load=YES rd.luks.uuid=1a45a072-e9ed-4416-ac7e-04b69f11a9cc rd.luks.uuid=c82fca05-59d3-4595-969b-c1c4124d8559 rd.luks.uuid=2d90af35-7e6a-40f8-8353-f20433d0f994 rd.luks.uuid=2e91342f-3d19-4f75-a9a6-fc3f9798cb30 resume=/dev/mapper/luks-2d90af35-7e6a-40f8-8353-f20433d0f994 loglevel=3 splash quiet'
GRUB_CMDLINE_LINUX=""

# Preload both GPT and MBR modules so that they are not missed
GRUB_PRELOAD_MODULES="part_gpt part_msdos"

# Uncomment to enable booting from LUKS encrypted devices
GRUB_ENABLE_CRYPTODISK=y

# Set to 'countdown' or 'hidden' to change timeout behavior,
# press ESC key to display menu.
GRUB_TIMEOUT_STYLE=menu

# Uncomment to use basic console
GRUB_TERMINAL_INPUT=console

# Uncomment to disable graphical terminal
#GRUB_TERMINAL_OUTPUT=console

# The resolution used on graphical terminal
# note that you can use only modes which your graphic card supports via VBE
# you can see them in real GRUB with the command `videoinfo'
GRUB_GFXMODE=auto

# Uncomment to allow the kernel use the same resolution used by grub
GRUB_GFXPAYLOAD_LINUX=keep

# Uncomment if you want GRUB to pass to the Linux kernel the old parameter
# format "root=/dev/xxx" instead of "root=/dev/disk/by-uuid/xxx"
#GRUB_DISABLE_LINUX_UUID=true

# Uncomment to disable generation of recovery mode menu entries
GRUB_DISABLE_RECOVERY='true'

# Uncomment and set to the desired menu colors.  Used by normal and wallpaper
# modes only.  Entries specified as foreground/background.
#GRUB_COLOR_NORMAL="light-blue/black"
#GRUB_COLOR_HIGHLIGHT="light-cyan/blue"

# Uncomment one of them for the gfx desired, a image background or a gfxtheme
GRUB_BACKGROUND='/usr/share/endeavouros/splash.png'
#GRUB_THEME="/path/to/gfxtheme"

# Uncomment to get a beep at GRUB start
#GRUB_INIT_TUNE="480 440 1"

# Uncomment to make GRUB remember the last selection. This requires
# setting 'GRUB_DEFAULT=saved' above.
#GRUB_SAVEDEFAULT=true

# Uncomment to disable submenus in boot menu
GRUB_DISABLE_SUBMENU='false'

# Probing for other operating systems is disabled for security reasons. Read
# documentation on GRUB_DISABLE_OS_PROBER, if still want to enable this
# functionality install os-prober and uncomment to detect and include other
# operating systems.
#GRUB_DISABLE_OS_PROBER=false
Automate decryption
Having four LUKS-encrypted partitions also means needing to decrypt all of them.
To make things easier, I added the same key that nvme1n1p2 uses also to all the other three partitions:
cryptsetup luksAddKey /dev/nvme1n1p3 /crypto_keyfile.bin    # new swap @ Goodram
cryptsetup luksAddKey /dev/nvme0n1p3 /crypto_keyfile.bin    # btrfs @ Samsung
cryptsetup luksAddKey /dev/nvme0n1p2 /crypto_keyfile.bin    # swap @ Samsung
And then I added them also to /etc/crypttab:
# <name>                                    <device>                                        <password>              <options>

### Goodram

## root in RAID1
luks-1a45a072-e9ed-4416-ac7e-04b69f11a9cc   UUID=1a45a072-e9ed-4416-ac7e-04b69f11a9cc       /crypto_keyfile.bin     luks

## swap
luks-2d90af35-7e6a-40f8-8353-f20433d0f994   UUID=2d90af35-7e6a-40f8-8353-f20433d0f994       /crypto_keyfile.bin     luks


### Samsung

## root in RAID1
luks-c82fca05-59d3-4595-969b-c1c4124d8559   UUID=c82fca05-59d3-4595-969b-c1c4124d8559       /crypto_keyfile.bin     luks

## swap
luks-2e91342f-3d19-4f75-a9a6-fc3f9798cb30   UUID=2e91342f-3d19-4f75-a9a6-fc3f9798cb30       /crypto_keyfile.bin     luks
Even after this, I still need to enter LUKS password thrice:
- before GRUB to unlock the Goodram SSD’s root partition,
- before GRUB to unlock the Samsung SSD’s root partition,
- during systemd to unlock all four partitions.
If I could shorten this down to just once, it would be even nicer. But that is as far as I managed to get so far. Happy to hear suggestions, of course!
Add new drive to Btrfs to make RAID1
On the new Samsung SSD the nvme1n1p2 partition is LUKS + Btrfs, but when adding a new device to Btrfs RAID with btrfs device add, it expects the partition to be without a file system.
This was a(nother self-inflicted) problem.
I could probably avoid this if I did it in CLI – and perhaps even in KDE Partition Manager, if I spent more time with it.
But now I had to deal with it.
Initially I planned to simply use --force the `btrfs device, but was quickly told by the Btrfs gurus, that there was a much safer option:
So I used wipefs to hide the file system:
wipefs --all /dev/disk/by-uuid/a19847bc-d137-4443-9cd5-9f311a5d8636
Then I had to add the device to the same Btrfs mount point:
btrfs device add /dev/mapper/luks-c82fca05-59d3-4595-969b-c1c4124d8559 /
And finally convert the two devices into Btrfs RAID13 with:
btrfs balance start -mconvert=raid1,soft /
btrfs balance start -dconvert=raid1,soft /
At the end of all this my /etc/fstab looks like:
# /etc/fstab: static file system information.
# Use 'blkid' to print the universally unique identifier for a device; this may
# be used with UUID= as a more robust way to name devices that works even if
# disks are added and removed. See fstab(5).
#
# <file system>                                         <mount point>     <type>  <options>                         <dump>  <pass>

## ESP @ Goodram
UUID=B33A-4C29                                          /boot/efi         vfat    noatime                                0 2

## ESP backup @ Samsung
UUID=44D2-04AD                                          /mnt/backup_efi   vfat    noatime                                0 2

## btrfs @ Goodram (in RAID1 with Samsung)
/dev/mapper/luks-1a45a072-e9ed-4416-ac7e-04b69f11a9cc   /                 btrfs   subvol=/@,noatime,compress=zstd        0 0
/dev/mapper/luks-1a45a072-e9ed-4416-ac7e-04b69f11a9cc   /home             btrfs   subvol=/@home,noatime,compress=zstd    0 0
/dev/mapper/luks-1a45a072-e9ed-4416-ac7e-04b69f11a9cc   /var/cache        btrfs   subvol=/@cache,noatime,compress=zstd   0 0
/dev/mapper/luks-1a45a072-e9ed-4416-ac7e-04b69f11a9cc   /var/log          btrfs   subvol=/@log,noatime,compress=zstd     0 0

## swap @ Goodram
/dev/mapper/luks-2d90af35-7e6a-40f8-8353-f20433d0f994   swap              swap    defaults                               0 0

## swap @ Samsung
/dev/mapper/luks-2e91342f-3d19-4f75-a9a6-fc3f9798cb30   swap              swap    defaults                               0 0

## tmpfs
tmpfs                                                   /tmp              tmpfs   noatime,mode=1777                      0 0
And with that my Btrfs RAID1 was basically done. 😌
There were some smart things to do still …
Automate Btrfs maintenance
According to the Btrfs documentation:
[Btrfs scrub is an] online filesystem checking tool. Reads all the data and metadata on the filesystem and uses checksums and the duplicate copies from RAID storage to identify and repair any corrupt data.
Which is one of the main reasons I embarked on this convoluted set-up adventure 😅
After consulting the Arch Wiki: Btrfs and the gurus on #btrfs IRC channel, it turns out I only needed to enable systemctl enable btrfs-scrub@-.timer.
The wiki says that @- equals the / mount point, @home equals /home mount point, etc., which suggests one should scrub each of the subvolumes / mount points.
But it turns out (at least the way I have things up) scrubbing / (i.e. @-) is perfectly enough, as it scrubs the whole device(s) anyway.
Re-introduce the “reserve tank”
Since I was resizing the original Btrfs partition, I wanted to re-introduce the “reserve tank”.
Measure twice, cut once!
If you did not mess up things like I did, you probably just need to do it for the new device.
Check how much Device slack you have on each device, before you do this. And if you are low on Device unallocated, run btrfs balance first.
In my case I started with 0 Bytes of Device slack, as sudo btrfs filesystem usage / -T shows:
Overall:
    Device size:                   1.78TiB
    Device allocated:            120.06GiB
    Device unallocated:            1.67TiB
    Device missing:                  0.00B
    Device slack:                    0.00B
    Used:                        114.63GiB
    Free (estimated):            864.45GiB      (min: 854.45GiB)
    Free (statfs, df):           862.56GiB
    Data ratio:                       2.00
    Metadata ratio:                   2.00
    Global reserve:              160.89MiB      (used: 0.00B)
    Multiple profiles:                  no

                                                         Data     Metadata System
Id Path                                                  RAID1    RAID1    RAID1    Unallocated Total     Slack
-- ----------------------------------------------------- -------- -------- -------- ----------- --------- -----
 1 /dev/mapper/luks-1a45a072-e9ed-4416-ac7e-04b69f11a9cc 58.00GiB  2.00GiB 32.00MiB   864.52GiB 924.55GiB 0.00B
 2 /dev/mapper/luks-c82fca05-59d3-4595-969b-c1c4124d8559 58.00GiB  2.00GiB 32.00MiB   860.74GiB 920.77GiB 0.00B
-- ----------------------------------------------------- -------- -------- -------- ----------- --------- -----
   Total                                                 58.00GiB  2.00GiB 32.00MiB     1.67TiB   1.78TiB 0.00B
   Used                                                  56.18GiB  1.14GiB 16.00KiB
To add some slack / “reserve tank” to the Btrfs file system, I had to run:
sudo btrfs filesystem resize 1:-10G /
sudo btrfs filesystem resize 2:-10G /
The first command reduced the file system on the device ID 1 by 10 GiB, the second one reduced it on device ID 2.
As a result, I ended up 20 GiB of Device slack, 10 GiB on each drive, as sudo btrfs filesystem usage / -T shows:
Overall:
    Device size:                   1.78TiB
    Device allocated:            120.06GiB
    Device unallocated:            1.67TiB
    Device missing:                  0.00B
    Device slack:                 20.00GiB
    Used:                        114.63GiB
    Free (estimated):            854.45GiB      (min: 854.45GiB)
    Free (statfs, df):           852.56GiB
    Data ratio:                       2.00
    Metadata ratio:                   2.00
    Global reserve:              160.89MiB      (used: 0.00B)
    Multiple profiles:                  no

                                                         Data     Metadata System
Id Path                                                  RAID1    RAID1    RAID1    Unallocated Total     Slack
-- ----------------------------------------------------- -------- -------- -------- ----------- --------- --------
 1 /dev/mapper/luks-1a45a072-e9ed-4416-ac7e-04b69f11a9cc 58.00GiB  2.00GiB 32.00MiB   854.52GiB 914.55GiB 10.00GiB
 2 /dev/mapper/luks-c82fca05-59d3-4595-969b-c1c4124d8559 58.00GiB  2.00GiB 32.00MiB   850.74GiB 910.77GiB 10.00GiB
-- ----------------------------------------------------- -------- -------- -------- ----------- --------- --------
   Total                                                 58.00GiB  2.00GiB 32.00MiB     1.67TiB   1.78TiB 20.00GiB
   Used                                                  56.18GiB  1.14GiB 16.00KiB
How to restore from a failed drive
This is more a note to future self.
When one of the drives dies:
- turn off laptop
- physically remove the faulty drive
- turn laptop back on and during boot mount the remaining drive as “degraded”
- buy new drive (use laptop normally in the meantime)
- when it arrives, turn off laptop
- put in replacement drive
- turn laptop back on and run
btrfs replace
That is assuming you do not have a spare at hand. If you have it, just skip steps 3-5.
Replacing a dead drive in the Btrfs RAID
The internet seems full of messages that once a drive in Btrfs RAID dies, you can mount it as read-write only once and never again.
The Btrfs gurus on #btrfs IRC channel say that this was a bug and it was fixed several years ago (someone mentioned 6 years ago). Nowadays the btrfs replace command works as one would expect.
Create fallback ESP
So, with that I should be well equipped for when one of the drives dies.
But wait! There is an important part missing!
I cannot boot if ESP is also dead.
Remember the /mnt/backup_efi? Now it is time to make use of it.
Making sure the backup ESP includes everything, takes just a simple:
rsync --archive --delete /boot/efi/ /mnt/backup_efi
And to make sure this happens regularly enough, I decide to create a systemd service that triggers rsync every time I reboot or shutdown my computer.
For that I put into /etc/systemd/system/sync-efi.service the following:
[Unit]
Description=Sync EFI partitions
DefaultDependencies=no
Before=shutdown.target

[Service]
Type=oneshot
ExecStart=/usr/bin/rsync --archive --delete /boot/efi/ /mnt/backup_efi
TimeoutStartSec=0

[Install]
WantedBy=shutdown.target
Of course, the service unit should be enabled too:
systemctl enable sync-efi.service
hook out → well that was a rollercoaster ride